0

Mugwort chicken soup

Mugwort – a sharp dark green leaves with bitter-sweet taste is part of Vietnamese cuisine and used in acupuncture therapy. When I was small, my grandmother used to use this for swollen pain at the leg or at the back. The elders always mentioned its famous effective to help female with their menstruation’s troubles. However, be aware that pregnancy woman should not have it.

The bitterness is the biggest barrier at first (similar fear with bitter gourd) to almost everyone that I know, me included. However, the more eating it, the more I realize how nice it is. When it is cooked nicely, the aroma and the bitter taste will come first, followed by the warm sweetness at the back of the tongue. It leaves a pleasant after taste.

I haven’t learnt or tried different way cooking it in both Vietnamese or other Asia cuisines. The two dishes I would always make fried the mugwort mixed in beaten egg and cook with chicken soup (click to view the posts in Vietnamese)

In this post, I made a slightly different version to cook the mugwort in chicken soup – much more simpler ingredients. Hope that you may come across and try this simple soup one day.

Ingredients:

  • Chicken thigh or whole black chicken
  • Mugwort leaves – as much as you like
  • Optional: dried red apple (4-6 small ones) and goji (a teaspoon). Both of them are easily found at Chinese herbal shops. Dried apple and goji will boost the sweetness while goji help lessen the bitterness while eating the mugort.
  • Salt, peppers, lime/lemon juice for sauce

How to:

  1. The mugwort is usually sold in a bunch of shoots, take out the bud and young nodes (first 1-3 nodes) and pick the leaves. Wash a few rounds under running water to clean the dirt.
  2. In the pot: chicken and mugwort (and the dried red apple), water to cover and add 1/4 teaspoon of salt.
  3. Cook under a medium heat until it starts to boil then bring to a very low heat and continue cooking about 15-20 minutes.
  4. Toss in the goji, turn off the heat and leave the pot covered on the stove.
  5. Sauce for chicken: salt + pepper + lime juice

Heat up just before eating – it’s better to eat while it’s warm.

Enjoy!

Bep Nha Chim

0

Fried Salmon

When I’m running out of idea or tired of looking for something new, avocado and salmon always got my back. During the pandemic, salmon can be kept in the freezer. If it happens that you have just one avocado, it’s always good to have this simple dish.

For the main dish, the main ingredients are salmon and avocado. This time, it happens that I have a big chunk of the scallion’s top (the while part) and some herbs as add-on.

  • Salmon – defrost, pat dry using kitchen towel and sprinkle salt & pepper both sides. Then fry both sides.
  • Avocado – simply cut into pieces

Scallion top – slices and fry with salmon and put it on top. Then I would add some mayonnaise and sprinkle chili powder on top. And it’s done.

For today’s meal, I make it into a rice set which includes a bowl of rice, miso soup, boiled broccoli and a simple salad (too bad I forgot the salad in the picture)

Stay healthy,

Bep Nha Chim

0

Salad: cucumber, cherry tomato, bell pepper, apple & orange

When you are staying at home more and do more grocery shopping, I’m wondering if you all encounter a similar situation that I usually have: the day you decide to mix whatever left to empty the refrigerator. What ever the output is, whatever works.
I usually will end up with different type of salad or mix vegetables.

What I had left: a Japanese cucumber, a few cherry tomatoes, a piece of bell pepper, an apple and an orange.
This time, I use all of them except apple and orange – only a small piece each.


Dressing – this is really up to your preferred choice – I always go with a super simple version classic dressing from olive oil, balsamic vinegar, sugar and peppers. This goes well with sesame Japanese dressing too.

Stay healthy
Bep nha Chim

0

Chicken porridge & Chicken salad

The weather has been changed lately, it’s the coolest time of the year in the last 2 weeks. It’s a nice one I admit and secretly wish that it can stay a little longer. However it looks like it’s changing again today.

Anyway, I am just finding a reason for this combo 🙂 and the weather is a perfect time for porridge when you are in a sleepy mode and clearly feel lazy to cook. This is also my first option when I am not feeling-well too. Here it is, chicken porridge & chicken salad.

What you need:

  • Chicken: breast part is the good choice for both (or other parts if it is your preferred option)
  • Ginger, salt, peppers, chili powder, salted egg
  • For porridge: rice (and sticky rice if you have), small chunk of carrot
  • For salad: yellow onion (1 medium), persicaria odorata herb (laksa leaf) – a handful leaves, lime (1 or 2)
  • Special herb (it is great if you manage to get): beefsteak plant (purple perilla / shiso leaves) – about 10+ leaves. This is a very good ingredient to beat the common cough and cold / seasonal flu.
  • Special topping: Vietnamese pork floss (good with even just rice only)

Looks like we have lots of things to do from the list, isn’t it simple? Here is what I will do:

  1. Soak the rice and sticky rice + 0.5 teaspoon salt in water (normal temperature) before heading to market or do it in advance about 30 minutes. I used the cup to measure the rice for daily meal (comes with any rice cooker): ratio = 4/5 rice + 1/5 sticky rice or just use 1 cup of rice is about good enough for 2 people.
  2. Boil the chicken in a deep pot – with 3-4 slices of ginger.
  3. While waiting for the chicken: mince the carrot, cut the onion and wash/cut the herb
  4. Take out the chicken after cooked. Then put the soaked rice and cut carrot into the pot and cook under a very low heat, stir gently every 7-10 minutes to avoid the rice stick to the pot. Use lid to cover the pot but try to leave a space for the steam to go out (or it will be a mess) – I use my cooking chopstick to put in between the lid and the pot to avoid it happens. This will take about 30-50 minutes to make it fully cooked. Sometimes I make it early in the morning and close the lid so that it will cook on its own until lunch time. While cooking – you can consider add in water to dilute the porridge if you prefer that way. I will also put in a teaspoon of fish sauce to boost the taste. The taste shall be light (do not make it too salty) so that it will go well with the chicken salad
  5. While waiting for the porridge: make the chicken salad and prepare the rest
    1. Shred the chicken, leave some part for porridge, the rest mix with cut onion, salt, peppers, lime and mix them well together – after taste, put in cut persicaria odorata (laska leaves) and mix again. The salad can be stored in a fridge and take out before eating. Details to make chicken salad can be found here (I will have to make an English version for this post).
    2. Boil the salted egg in a separate pot and cut into small pieces – to eat with porridge
    3. Cut the spring onion, shiso leaves

Just before eat: porridge goes to the bowl, put on topping: shredded chicken, salted egg, spring onion, shiso leaves and peppers, chili powder and pork floss.

Enjoy and stay safe,

Bep nha Chim

0

Sweet & sour Fish soup

Since we’ve been worked from home for months, I’ve been thinking about how to avoid boring meals when cooking is now two times per day. I have to admit that sometimes, I really miss the food that if I traveled home, I would be able to enjoy it easily.

Two weeks ago, I was so happy when I saw the frozen fish that is perfect for my list of dishes await – it’s called “pangasius hypophthalmus” (Vietnamese name: cá hú), perfectly cut into pieces. This is the first dish: fish soup.

There are many version of fish soup from Vietnam – it is different from cities/region depended on the ingredients. This dish is inspired from the South taste, rather than my home town. Reason is very simple, ingredients are not found. Anyway, this is also a nice dish that I really like because there is a way you can work around with the preparation that save time and the soup contain many type of vegetables – perfect 🙂

Bep nha Chim – Sweet & sour fish soup

Ingredients (for 2):

  1. Fish steak: 1-2 pieces
  2. Tomato: 1 small – cut into 4-6 pieces
  3. Chili: 1 small, remove the seeds
  4. Pineapple: 1/8 (cut into thin pieces)
  5. Mushroom: any type of mushroom you like. I used shiitake and white beech mushroom types.
  6. Herbs: dry purple onion (thin slices), fresh coriander, scallion, dill, thai basil
  7. Other (if available): ladyfingers (cut into 3mm slices), beansprouts

Preparation:
It’s best to use non-stick pot

  1. Stir fry the fish using 1tbsp oil under medium-high heat (cover the pot) for 3 mins, turn the other side and cook for 3 mins then put it aside
  2. Marinate fried fish: 1 tbsp fish sauce + ground black pepper
  3. Using the same pot, medium heat: put in slices dry purple onion until almost yellow or when the aroma comes, toss in tomato, pineapple & chili, follows by 1 tbsp fish sauce and mix well, cover the pot and cook for 5 mins.
  4. Add shiitake mushroom, cover the pot and cook for about 2-3 mins
  5. Put in 2 cups of water, bring to boil
  6. Put in marinated fish at step 2, bring to boil and add either salt or fish sauce slowly to suit the taste.
  7. Add in the other type of mush room (and ladyfingers slices), reduce the heat and cook for 5 mins and cover the pot (off the heat and wait until the meal is ready)
  8. Before eat: bring to boil again, add in beansprouts and cut herbs

The soup will give a hint of sweet, sour from combination of tomato and pineapple. The very mild spicy from chili will bring up the combination with the herbs and it creates a very pleasant taste.

This soup is nice with rice.

P.S.: my ingredients are mostly cut and stored in the freezer (fish, slices mushroom, herbs). It reduces preparation time a lot and I can prepare everything within 30 mins.

Enjoy and stay safe!
Bep nha Chim

1

Seasoned Bean Sprouts

My husband and I loves Ramen. We would go to our favourite tiny Ramen shop from time to time. The shop serves a special seasoned bean sprouts besides free boiled egg that I always fell in love with. I have been telling myself to make it one day at home but I was too lazy.

A week ago, both of us made a trip to Donki Donki shop and got the ingredients needed for out stay home period, including roasted sesames, cup noodles, Japanese mayonnaise, some packs of Furikake (dried seasoning stuff to sprinkling on top of rice), etc…

The most important ingredient: I finally found a pack of bean sprouts few 2 days ago groceries shopping after few times seeing empty shelves earlier.

Ingredients:
1. Bean sproutsRoasted sesame (yellow or black or both)
2. Sesame oil
3. Soya sauce
4. Salt
5. Optional: shichimi togarashi (7 spice), chili oil, chili powder

Steps:
1. Boil bean sprouts 1-2
2. Mix the sesame oil, soya sauce (ratio 4:3) and salt then mix well with (1). Here, different type of soya sauce has its own taste and one can contain more salt than the other (reduce the salt accordingly)
3. Gentle mix with roasted sesames and other optional ingredients

It can be stored up to 3 days in a tight container.

Enjoy!
Bep nha Chim

0

Starter: salami, cucumber & cherry tomato

This simple starter saves me a few times. It’s a great choice when you have friends stop by for dinner and rush home from work. It is simple as it looks.

20191201_125559-001

All ingredients can be stored in the refrigerator in advance

  1. Salami – any type that suit your taste
  2. Cucumber – Japanese cucumber with dark green skin is the best
  3. Cherry tomato
  4. Extra topping: peppers, rosemary

20191201_125631-001

Prepare: cut and arrange the ingredients, add the topping and it’s ready.

P.S.: special thank to my friends who always greet me when we visit Lazy Ginger.

Enjoy!
Bep nha Chim

2

Bánh bao (Vietnamese bun – wrapping cake)

I have no idea how to name it in English. It’s kind of bun/wrapping cake. The inside is made from minced pork and eggs and few other things. It has been a common breakfast since I was small, especially during winter. You held the hot bun in hand and slowly have each bite. It’s hot inside and filled with great taste from minced pork mixed with black fungus, boiled egg and sometimes, with a slice of sausage (dry red style).

I had a craving for “the bun” for two consecutive nights. The only thing that kept me postponed is the bun cover which is totally a challenge. So the story went on and I contacted my friend to help me out. She enlighten me by sending me a recepie to follow which she found it’s easy enough. You can find it here – Bếp Rùa blog by Khai Tam

Back to my story, if you are about following my instruction, I would not recommend for doing the bun here. This is mainly to tell you how I failed and more important, it made my Sunday morning turned out full of laugh – a good one that helps me enjoy.

On Saturday night, I prepare the base (at about 9 P.M) and the filling. Following figures is for 8-10 buns and I made 8.

The base:

  • Multipurpose flour: 170 gr
  • Water: 150 ml
  • Instant Yeast: 2gr
  • Sugar: 5 gr

Mix them well and cover using plastic wrap; leave it over night. This seem very fast and pretty simple, doesn’t it?

The filling:

  • Boil quail eggs: 1 or 2 per bun (replace by normal chicken egg, 1/2 or 1/4 per bun)
  • Grin pork, black fungus, peppers and mix well with fish sauce, divided into 8-10 portions.
  • Each portion: wrap into a ball with 1 or 2 boiled quail egg inside, put into air-tight box and send to the fridge.

Last thing to do: prepare the steam to steam it on the next day

Then you happily go to sleep, with a dream that you are about to clear your urge of having a soft, nice bun in your mouth.
Zzzz….

Next morning, I went on and use the base and add on the following to make the cake

  • Multipurpose flour: 170 gr
  • Sugar: 90 gr
  • Baking powder: 10 gr
  • Salt: 3 gr
  • Cooking oil: 20 ml

Mix well using your hands and arms – muscle time. I had no idea how long should I practice my muscle so I did not pay attention to the timing. It supposedly be mixed until you make a very smooth and round cake in the bowl. I made the round one but it was not very smooth like the instruction.

Then, leave it there for 15 mins to rest (okay you rest and my arms need to rest as well) – In the mean while, not really rest but preparing the cooking paper for 8 buns.

DSC00347-001

15 minutes pass, time to make the bun:

  1. Divide the round mixture into 8 pieces. Each bun, theoretically: use rolling pin to flatten it, even more at the edge; put the filling inside and wrap it. Sounds not so complicated but I was totally freak out.
  2. First – I do not have one – a rolling pin – so I use hand and spoon. Oh well, not that bad
    Second – I have no idea how to make a nice wrapping so I can only try to wrap it literally
  3. Next, steam them. Here, bring the water in steamer to boil first before placing the bun in.
  4. Check every 5 minutes to clear the water below the cover. It will take about 15-20 minutes (depend on the size).

Well, in fact:

  • My steamer does not have enough space for 4 but I was not aware and put 4 so it does not have space for the bun to expand. So my first round of 4 gone funny. It is cooked but the cover is not expand enough so it is not dry enough.
  • In the second round: I tried fixing the problem by doing the next 2 buns – not bad, it seems good: the bun expanded and dry and light after steam.
  • Last round, I have 2 more. However, I added on too much water to the steamer. So my last 2 buns is half covered in hot water.

In the end, I manage to secure 2 out of 8 buns (25%). The filling is nice but the cover gone mad. You may also wonder how come my bun is so dark and not “white”. Well, I used brown color, not counted the salt is rock salt but not the fine salt. Luckily that the taste is still not that bad – have not yet encountered any part appears too salty.

When you think of this:

Banh Bao - Google Result

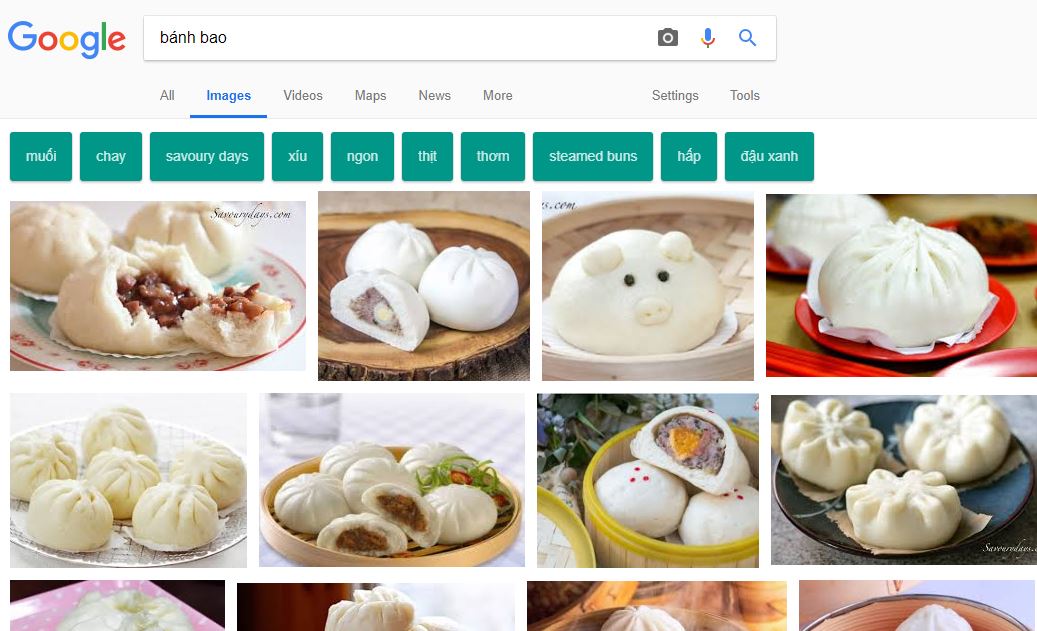
Source: Google search result

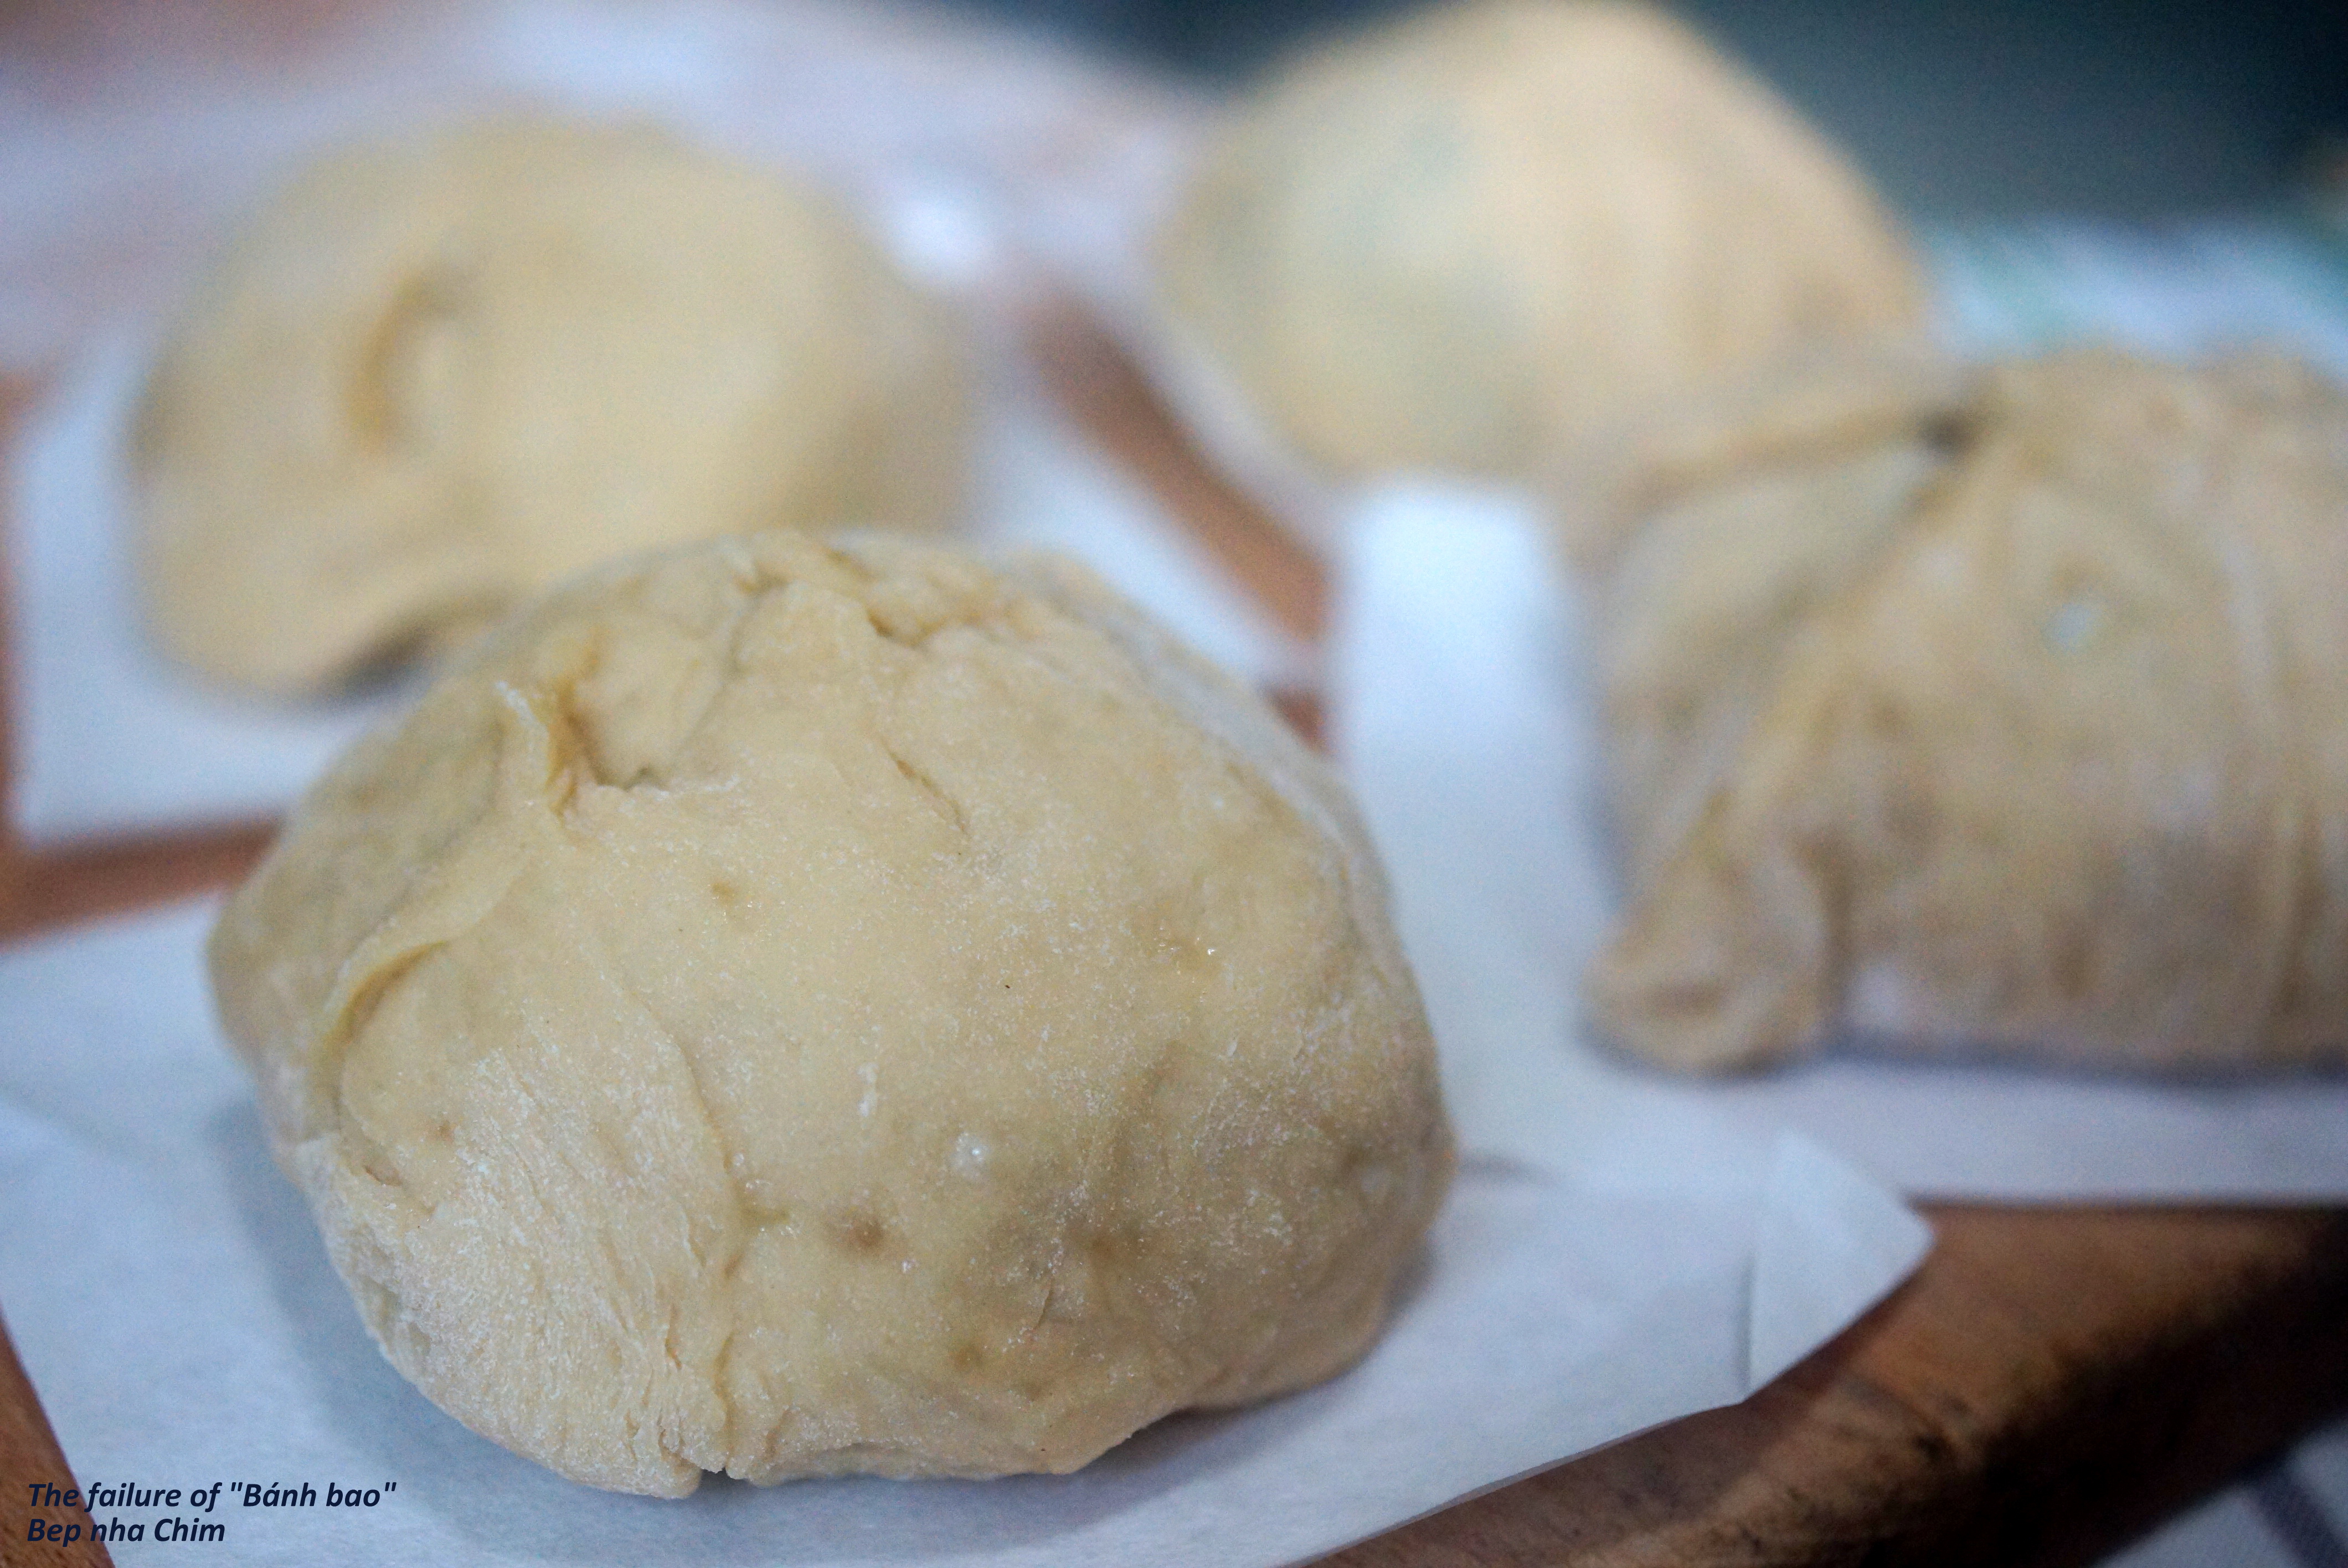
And the outcome is like these:

I learnt a great lesson by doing the bun. And I would like to share that if you – by any chances – passing by to avoid a same mistake that I did.

In the end, I still finish my bun and my wish is filled even though it is not a perfect dream comes true.

Good luck.

Bep nha Chim

0

Boiled pork coated in toasted rice powder

When we (my husband and I) were dating, our favorite dinner is having “nem tai” – small local street food in “Hàng Bông” old street. Back in old day, I will wait for him to finish his whichever class opposite and then having dinner together. “Nem tai” is actually made from boiled pig ears and then it is sliced and coated in a very interesting toasted rice powder with lemon leaves. The portion of this main ingredient is small but it taste very well with lots of vegetables and of course, special fish sauce after wrapped in rice paper.

Making toasted rice powder is a real challenge. I dare not to but luckily, it is sold in the market and it can be kept for quite sometimes. The smell is great and can’t be resited.
It’s been more than 13 years and we did not manage to see the shop at the same corner nowadays when we had a trip back to my hometown. With all my heart (silly though?), I attempt to create a simple version for our Friday dinner.

DSC00172-001

Ingredients:

  • Pork: 3 layer portion, about 200-220 gr. Here, you can use ears, or just skin itself (* – refer to note for special instruction)
  • Toasted rice powder: 3-4 tablespoons
  • Young lemon leaves: 3-4 leaves

How to:

  1. Boil the pork until cook (do not overcook), put under running water and use cooking tissue to pat dry, then slice into thin/small pieces. Let it sit and dry after slice for about 10 minutes (or use cooking tissue to absorb the juice)
  2. Young lemon leaves: slice into very fine slices
  3. Put the powder to the pork and mix well. Then put in lemon leaves, mix well.
  4. Here, you can toss in a little bit of salt to taste but not too much.

Fish sauce: sugar + water (light sweet), add on fish sauce (light taste) and squeeze in lemon juice. Before eating, add in minced garlic and few pieces of sliced lemon leaves.

How to eat:

It can be a dish on it own, or goes really really well using rice paper and wrap with the following vegetables: guava leaves, leaves from Paederia lanuginosa plant (Vietnamese name is “lá mơ”), young leaves from Polyscias fruticosa (or “đinh lăng” in Vietnamese), shiso leaves (“tía tô”), Vietnamese balm (“kinh giới”), basil, mint, coriander or any kind of leaves that you prefer.

(*) – if you are using pig ears or skin, remove the hard hair if there is and wash with white wine to clean. Boil with ginger to remove the bad smell. Try to slice when it’s still warm for easier process.

P.S.: special thank to my friend who always be a supplier every trip she made to see us both.

Enjoy
Bep nha Chim

0

Rice Noodle in Bitter Gourd soup

Summer is here, not it is coming anymore. It has been very hot in the last few weeks. Luckily that it rains sometimes and the heat is reduce. On those day, sitting down can also give you a temper sometimes. But sitting there does not make your stomach satisfy in fact. Therefore, find some fast-easy-to-cook and suitable to the hot weather is the best.

One of my favorite simple meal with rice noodle, bitter gourd, mushroom and minced pork. Here it is.

DSC09976-001

Ingredients (for 2):

  • Bitter gourd (*): 4 short & small type or 1 big one.
  • Mushroom: 4-5 pieces, soak in water if it’s a dry one and keep the water after take out mushroom.
  • Minced pork: 200 gr (up to you). If you are vegetarian, replace with anything you like to create some form of “ball”.
  • Fish sauce and 2-3 tbsp ground peppers.
  • Rice Noodle: enough for 2.

How to:

  1. Bitter gourd – wash and cut into 2-3 fingers size pieces (thick or thin is depended on your mood, not a big deal). Cut soaked mushroom into 2.
  2. Take 2 bowls of water and put into a pot then bring to boil. While waiting, prepare minced pork in step 3 and heat up rice noodle in step 4 using a kettle
  3. Minced pork: mix very well with lot of pepper & 1/2 tbsp fish sauce then make a ball (your preferable size). Here, you can also add on minced black fungus.
  4. For dry rice noodle or ready-to-eat from package: dump into boiled water for 10 mins and remove the water.
  5. Cook bitter gourd and mushroom until soft. Add mushroom water. Bring the soup into boiled, gently bring in meat ball until it’s cooked and the soup is boiled completely. Add on salt/fish sauce to fit the taste. Do not put in too much. You can add on later after after mix with rice noodle.

To serve: place rice noodle into bowl and place minced pork, bitter gourd & mushroom on top. Then pour the soup into the bowl.

P.S.: you may wonder few things:
Q 1 – Why it’s a simple dish but there are so many step?

Well, I just want to describe in detail and in fact, while waiting for the bitter gourd and mushroom to be cooked, it’s mince pork preparation time

Q 2 – There is a (*) next to bitter gourd, what is it?

There are 2 types of bitter gourd that I usually see in the supermarket: big long one and short small one:

  • Big and long: color is lighter, the surface is smoother. Taste is not so bitter. If you are attempt trying bitter gourd, this will be the perfect type to start with.
  • Shorter and smaller: color is darker, the surface is covered with jagged and ridges and usually bitter than the other type.

When the bitter gourd is still young, the seed is greenish and stick to the inner skin. The bitter gourd is heavier. When it’s older, it’s softer, lighter; the seed is red and easily to be taken out.

I prefer smaller & older bitter gourd because it can bring out the taste into the soup. The best part is sweetness taste comes after the bitter. 

Enjoy!
Bep nha Chim